|
|
|
Introduction - Maya Attributes |
|
|
Shaders in Slim can be controlled from Maya by linking shader parameters to Maya
Attributes. This provides a direct connection from Maya to practically any
shader parameter desired. This high level of integration allows you to link any
animated parameter, defined by a Maya curve, to drive any shader parameters. The
implementation required is straightforward, requiring just a snippet of tcl, a
very non-intimidating tidbit. Once understood, this technique is invaluable to
getting the most out of MTOR, for it allows you to truly immerse your shaders
in a Maya scene. In this lesson we'll explore some of the possibilities of
driving shader parameters with Maya Attributes.
For this tutorial you'll want to be familiar with Maya concepts like
Arbitrary Variables and creating Set Driven Keys. |
|
In this LessonWe'll use a arbitrary Maya
Attribute to animate shader parameters in Slim. To demonstrate this we'll
turn a light on and off. |
|
|
On |
Off |
|
|
|
|
Driving Shader Parameters with Maya Attributes 1 - Open the Maya Scene |
|
|
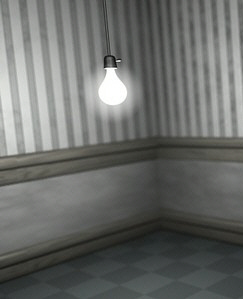
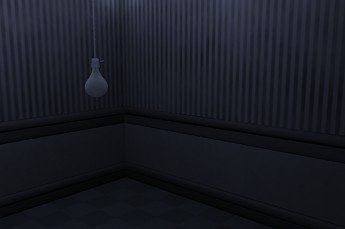
For this tutorial, open the scene: Looking at the scene, We see a bare bulb hanging
in the middle of the room. |
|
|
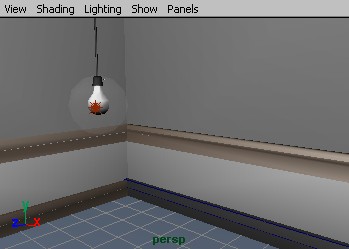
2 - Select the Bulb Light |
|
| Next select the light source inside the light bulb geometry. It is called "bulb." An arbitrary variable has been attached to the bulb called "OnOff". This variable has been animated in this scene. If you play through the animation the light will go on and then flash off. This "OnOff" attribute is used to drive the intensity of this light as well, using Maya's set driven key. | |
|
|
|
|
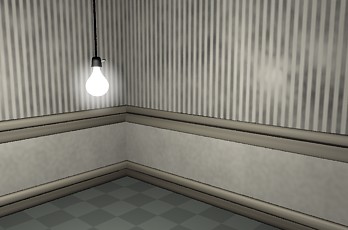
3 - Render the Scene |
|
| When the scene is rendered, we get something like this…however now none of the parameters will animate. So we need to link the parameters of these shader to the Maya "On Off" attribute. |
|
|
4 - The Palette |
|
|
In this palette we'll drive the following aspects of these parameters.
1) Bulb: The surface shader of the light bulb. The incandescence will be animated. 2) Bulb Glow: This creates a fake glow around the light. This glow will be animated. 3) Bulb Light: This illuminates the scene. The intensity will be animated. 4) Blue Light: When the main light is turned off, these will turn on. The intensity will also be animated, but in the inverse. |
|
|
5 - Animate the Light Intensity |
|
|
To connect the attribute to a parameter, open the "bulb_light" light
shader in the attribute window. Switch the KI, intensity, provider to
"expression," so you have an orange provider (as seen in the image on
the right). Now enter the following:
[mattr "bulbShape.OnOff" $f] That's it! Now this parameter is driven by the Maya Attribute To explain . . . |
|
|
6 - Set the Other Parameters |
|
|
We can animated multiple parameters with a single Maya Attribute. We'll demonstrate that now. Be sure to switch the provider from Internal to Expression. |
|
|
|
|
|
Bulb: Animate the incandescence with:
[mattr "bulbShape.OnOff" $f]
|
|
|
|
|
|
Bulb Glow: For the bulb glow open the shader and go to the CombineColors
connected to the Opacity. Animate the bulb of the glow with:
[mattr "bulbShape.OnOff" $f] |
|
|
|
|
|
Blue Light: Now we'll get a little tricky. We'll animate the lights so they increase in intensity as the other parameters decrease. We can do this by creating a slightly more complex expression: .135 * (1-[mattr "bulbShape.OnOff" $f])
|
|
|
7 - Render with the Light Out |
|
| The "OnOff" parameter is at zero at frame fifty. Go to frame 50 and render. You should see your parameters are now driven by the "OnOff" attribute. You could animate the sequence for extra kicks. |
|
|
Pixar Animation Studios
|
 Maya
Attributes
Maya
Attributes